Wireguard: The Road warrior
Tunnels are laid, sites are connected. Now, it's your time to roam! Become the road warrior with Wireguard.
Tunnels are laid, sites are connected. Now, it's your time to roam! Become the road warrior with Wireguard.

We were slowly, but surely laying down the foundation for our final setup in the Wireguard VPN series. We setup the site to site connection, we made it persistent. Now we put the last piece together; the on-the-go VPN on your smartphone! This is where you shine in eyes of your significant other. Think of all that UK Netflix you will watch.
There are native Android & iOS applications for Wireguard, in this article, I will be focusing on Wireguard on iOS. Having said that let's jump in and prepare.
You will need to download the official Wireguard application which can be fetched from here: App store. Now we can move to the actual setup.
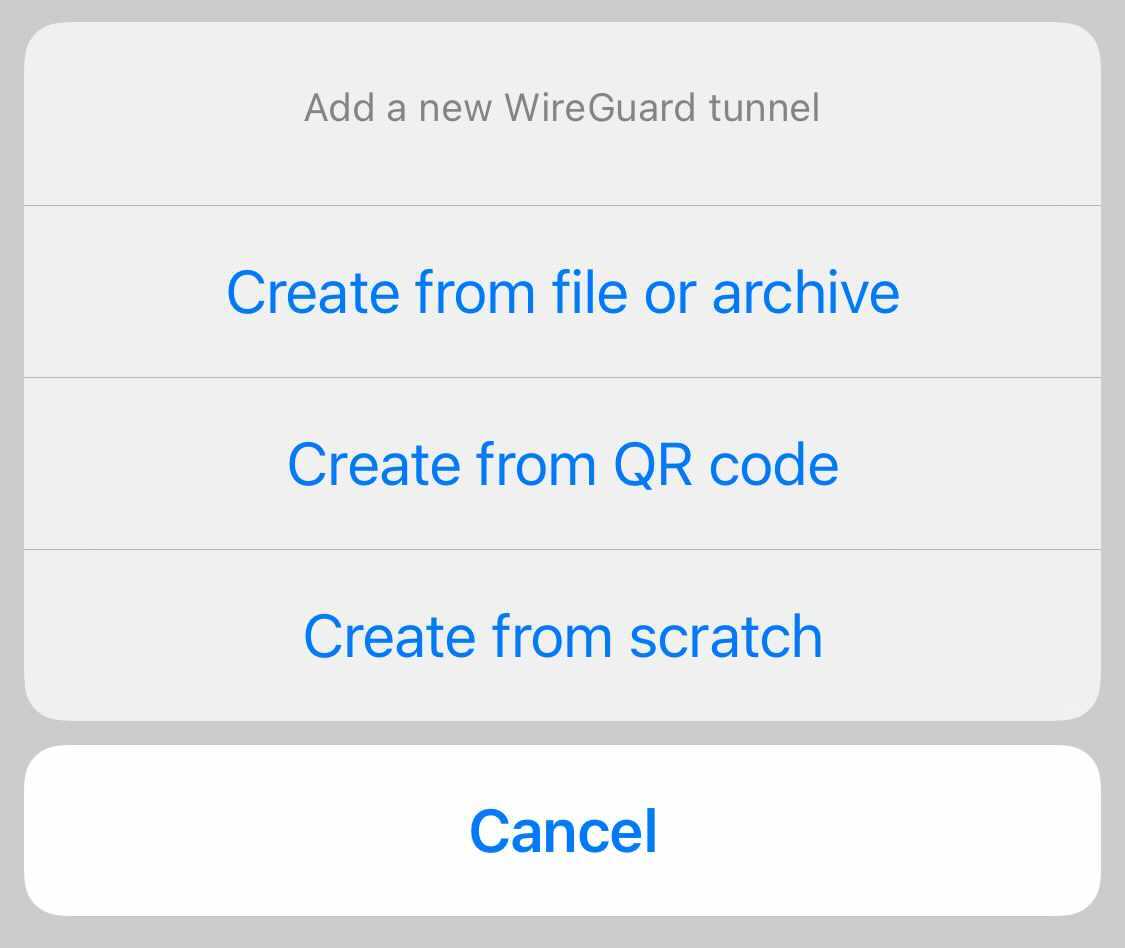
There are 3 ways how to configure your VPN connection in Wireguard app:
I prefer the first option, as it's quick to use, once you setup all the necessary tooling for it. Here you can get creative.
First off, I assume you already have a working Wireguard setup, including working NAT rules in place, if not feel free to refer to the linked guide in the header of this article.
Your smartphone will act as an another peer in Wireguard network, therefore we will need to configure public & private keys for it. This can be done via following command:
wg genkey | tee iphone_lubos.key | wg pubkey > iphone_lubos.pub
Once you get your keys setup, it's time to add the peer's public key into your Wireguard configuration, so the peer gets to access your VPN. To add the peer's public key into your configuration simply append following line into your main wg0.conf file:
[Peer]
PublicKey = 9fC02smHeQ79BMhWcxlHtAXMm5ptvBYL8A2oOWyVDzw=
AllowedIPs = 0.0.0.0/0
Make sure that the AllowedIPs is set to 0.0.0.0/0; this is necessary as our VPN server has to accept connections from any IPs from this peer. Remember in this case the AllowedIPs acts as a sort of access control list for the peer and you won't know ahead of time what external IP your peer(smartphone) will have when connecting to the VPN. Now apply the updated Wireguard configuration file to your Wireguard interface via following command:
wg setconf wg0 wg0.conf
With all this in place, your VPN instance is now ready to accept connection from your peer, so let's move to the peer configuration.
As mentioned in the beginning of this article, I said that I prefer the configuration via QR code, however before we can generate a QR code, we should prepare the configuration file itself. The file is also useful, if you go with the setup method 2 and 3.
In the second case you can use the prepared file as a reference for typing down the configuration manually; that takes ages, but who am I to judge. In the third case you can simply share the file with the peer either via email/slack/etc and the peer can just load it and call it a day.
Back to our road warrior VPN configuration for the peer. It should look like this:
[Interface]
Address = 10.170.1.3/32
DNS = 192.168.1.122
PrivateKey = ch0R012Uq/IKAKQwTfGCuqCnrQ4BcTnYimOFpsz23Wk=

[Peer]
PublicKey = IYF1xaxijfg0f05y3fR4NIOzFJrmkPFkB5Y52yWW2AE=
Endpoint = x.x.x.x:51871
AllowedIPs = 0.0.0.0/0
Let's quickly walk through the parameters that we are setting in the Interface section we have two parameters:
Address this should be an IP from our VPN network range that gets assigned to this peer, i.e in my case I went with 10.170.1.0/24 range, therefore I gave 10.170.1.3 to this peer.DNS sets the IP of the DNS server that our peer will use to resolve hostnames. Very crucial parameter, we need to make sure that we set this in order not to leak our IP by not making DNS resolution via our public IP.PrivateKey pretty self explanatory, it's the value of the private key that we generated at the start of this guide.In the Peer section we 3 parameters that have to be set:
PublicKey it's the value of public key of our VPN server. Not your peer's!Endpoint is the external IP and port of your VPN server that is reachable from the Internet.AllowedIPs this is the part where you either make it or break it, set it to 0.0.0.0/0 nothing else.Remember, on the peer side the AllowedIPs parameter acts as a routing table for the peer. It tells Wireguard application to route traffic for all the IPs via your VPN tunnel, this is where the magic is.
We are almost done! Now you have 2 options how to get the QR code; the nerd way via command line or the boring way googling on how to generate QR code on the web and then leaking your private key to the Internet.
If you don't want to install any fancy binaries on your VPN server, then just search the web for QR code generator and paste your peer configuration file in it. For example this one does the trick for your: Web based QR code generator. Please note, that using this method you might be sending sensitive stuff to a 3rd party server, which introduces security risk!
Now, if you take your security and safety seriously you should generate the QR in a safe manner. This can be done via command line tool such as qrencode. On Debian based systems the installation is as simple as running:
apt install qrencode
Getting a QR code in a secure manner is as easy as this, as demonstrated in the above gif. You can accomplish the same by running the command:
qrencode -t ansiutf8 < peer.cfg
If you wish to send the generated QR code as an image to the peer, you need to generate the image. This is done by running the following command:
qrencode -t png -o qrcode.png < peer.cfg

With all the hard work we have done so far; we are getting there. Our sweet forbidden UK Netflix is almost within our grasp. Last thing we need to do is to scan the QR code with our Wireguard application and we are all set.
Wireguard application is very easy to use, you just click the blue plus icon in the top right corner of UI and a menu will pop up. Select Create from QR code and scan the QR code. Name your VPN connection and you are done.
As you can see, the setup was again straightforward with Wireguard, we managed to quickly generate a peer configuration for our smartphone, add it to the smartphone via a hefty QR code that we also generated. Now all that is left is to enjoy your secure connection via VPN.
Now, we can take our VPN experience one more level further! We can configure Wireguard application in such a way, that it will automatically enforce VPN connection based on our connection type. For example you can force it to use VPN whenever you are connected to the internet via cellular or you can also set it up to connect to VPN, whenever you are connecting via unknown WiFi. This is especially useful, if you don't want your IP to be leaked on public WiFis, or you don't want your background traffic being sniffed prior turning VPN on manually.
To set it up open up Wireguard application:
Aaaand done! Cheers, enjoy watching unlimited UK Netflix without any limitation! Assuming your VPN server is UK based.